
Padded hangers, a perfect holiday gift for the girl with beautiful clothes hung on wire hangers. Well, padded hangers are available commercially, and cheaply. But that’s no fun. Padding a hanger yourself adds a fun, customized element to your closet in addition to using up your scraps, your ugly fabric, and make you happy at the same time.
Let’s do this. You will need:
I’m using the arched wooden hanger with a metal hook. Unfortunately, these are not available in any retail store that I know of. They are, however, available on Amazon. The downside is, they seem expensive to me. If you know of another source, please let us know in the comment section. Some of my wooden hangers have been hanging in my closet for many years, and others were given to me by a friend. So I have a supply for all my upper clothing. For the bottoms, I use dry cleaner hangers with the cardboard tube. So sorry.

Fabric, batting (either low or high loft), pattern which you can create with simple drawing skills, 8 – 9 inch length of ½” wide ribbon, a silk flower or a self made ribbon flower-pin, matching thread and other basic sewing supplies including a hand needle.
Fabric: I used a leafy green, papery taffeta which has a yellowed area at the folds. I took this remnant from a bag of fabric discarded by the owner and obviously it is very old. Dare I say vintage? Naah.
Pattern template: create this according to the photo below at left. Just two pattern pieces which we’ll call A and B, and we’ll cut two of each. I’ve marked the dimensions on the templates below; click on the image on the left to make it larger.


Method: Cut two pieces from each pattern piece. Machine baste around the two A pieces (except the short straight side) . Pull to gather and match up with the B pieces.

Sew each A to a B in a 3/8” seam, leaving the bottom short straight end open. Press – yes, press the gathers flat. Serge the seam. Turn in ½” at the open end and press.

Cut out two pieces of batting 3 inches wide and twice the length of each side of the hanger. Wrap each batting piece on the wooden arch, starting from the center hook, wrapping around the end, over the bottom, down and back to the center. Do this on both sides. Anchor with a few hand stitches.

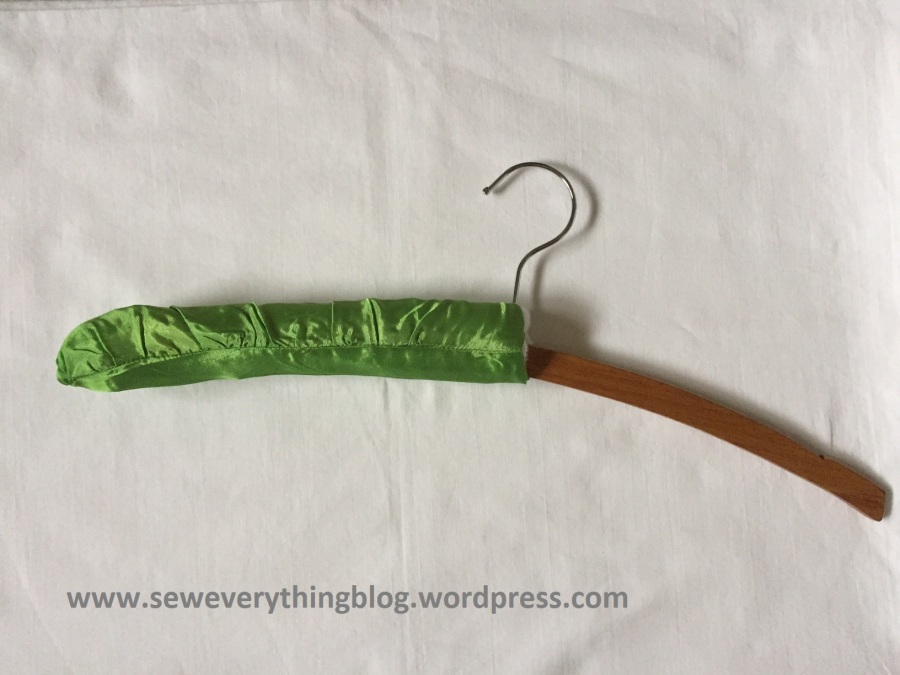
Insert each side of the hanger into the fabric tube thingy, gathered side on top. The ½” fold meets at the center; at may even overlap. Hand tack the two folded ends together in the center. Wrap the piece of ribbon around the center to cover the joint.


The only thing to do now is to add embellishment at the center to give the hanger some oomph. I used some ribbon flower pins. If you read my previous post, you know I have a thing for ribbon flower pins. Heh. So which one do you prefer? The white rose, or the almost withered red rose?


What do you think of a hanger padded to match a self-made garment which will hang on it? For many years, my favorite blue rayon blouse, seen above right, has been hanging on a matching hanger.
Have a great holiday season!
Samina

Oh, I remember making a matching hanger for a wedding dress I made for a client. Partly to keep it in order before the wedding and partly because the fabric (sari silk) was soooo beautiful I didn’t want to stop sewing it. It’s a lovely touch and an easy make at the end with remnants.
LikeLike